Making Images With Transparent Background Using GIMP - Illustrated Tutorial
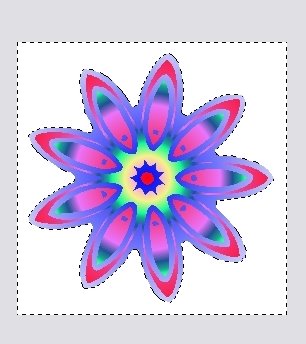
 First open the file with your image. I used a simple image of a flower made for this tutorial exclusively. Since it is not going to be used as a real design, it has a small pixel size. Normally, with a design you would have an image of a much bigger size.
The picture shows the layers window, the image and the GIMP window. There is just one layer present, the one with the image.
 Create a new layer by pressing the button in the bottom row of the layers window. Just follow the red arrow.
To view a bigger picture of the image on the left just click on it.
 A new window will open to give you different options related to the new layer.
In the new layer window, be sure to pick the transparency option. The width and height will be automatically set to match the image size.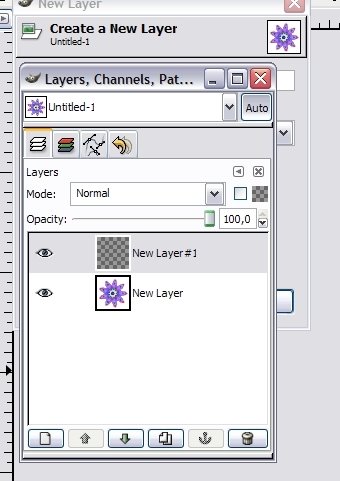 Now you have two layers. The transparent layer is highlighted which means it is active. We need to work with the image, so we click on the white space around the old layer, the one with the image.
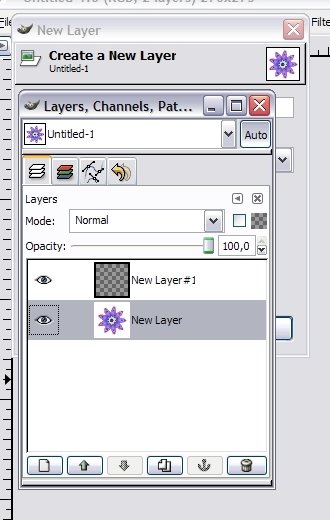 If everything was done right, the layer with the image is highlighted. We can go on with the job now.
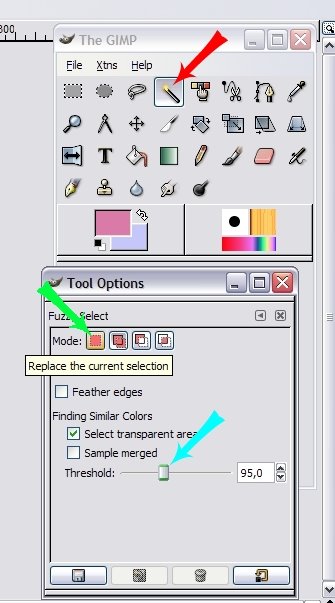 In the GIMP window double click the magic wand icon marked with the red arrow.
A new window will open called Tool Options. If your image has just one connected surface that you want to make transparent (like the one in the example) than make sure to select the first option in the list of mode options (see green arrow).
The blue arrow shows the threshold slider. If your background is made of a solid color, than you can put the threshold to zero, but if it has slight variations of color you might need to move the threshold to a bigger number.
Trial and error method will help you select the right threshold. Pick the threshold, click the background if the right surface was picked you did it, if not, change the threshold and try again. Repeat until you get what you want.
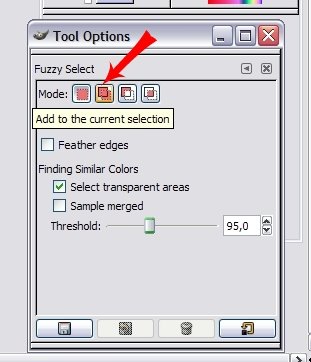 If you have two or more separate surfaces that you want to make transparent pick the second mode option - the one indicated by the arrow.
Find the right threshold value by doing the same as described above.
After you find the threshold click on all surfaces that you want to make transparent.
 This picture shows the image with a correctly selected background. Everything that is not part of the design is selected.
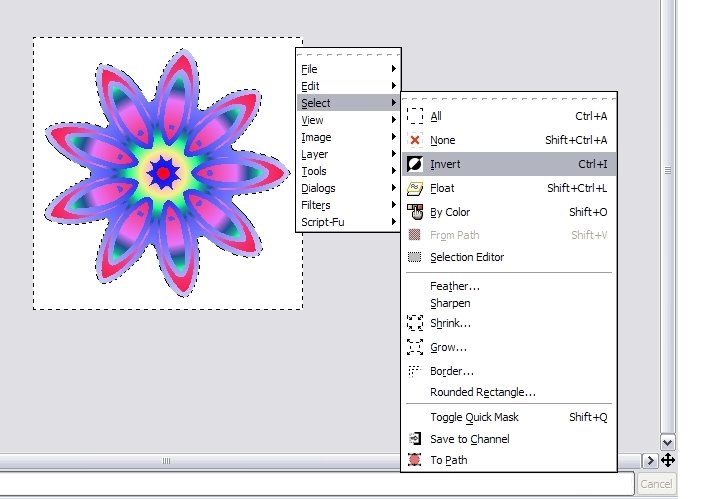 Right click the image. Go to select and than click on invert.
Now, the whole design is selected and the background is left out. Right click the image again. Go to edit and than click on copy.
 Go to the layers window and click on the eye icon of the image layer like indicated by the arrow.
We do this to avoid the confusion when viewing the image.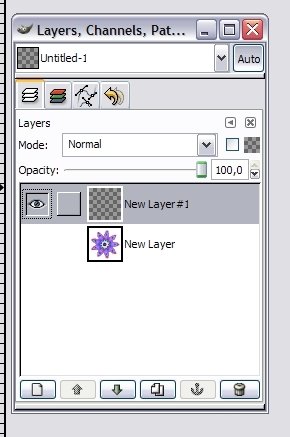 Select the transparent layer. It has to be highlighted on the list of layers.
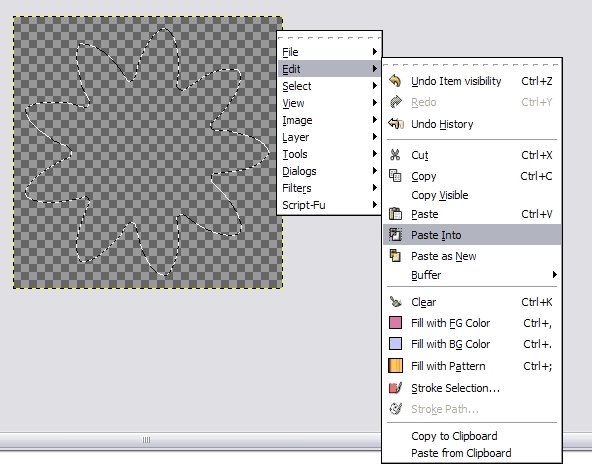 Right click the image. Select edit and than click on paste into.
 Click on the anchor icon on the bottom of the layers window.
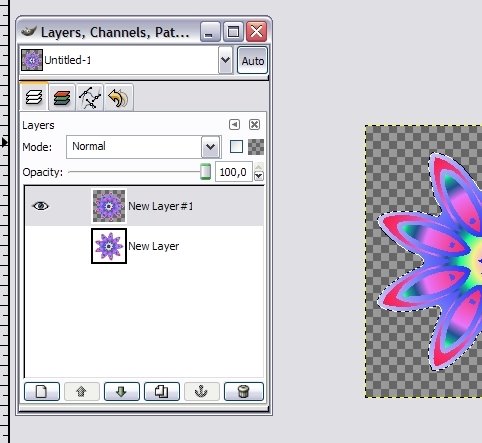 Now we have two layers. Each layer has your design in it, but one has a transparent background and the other has a colored background.
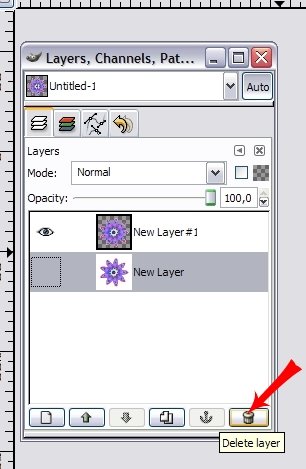 Highlight the layer with the colored background. Make sure that the layer with the transparent background is not highlighted.
Click on the delete layer icon.
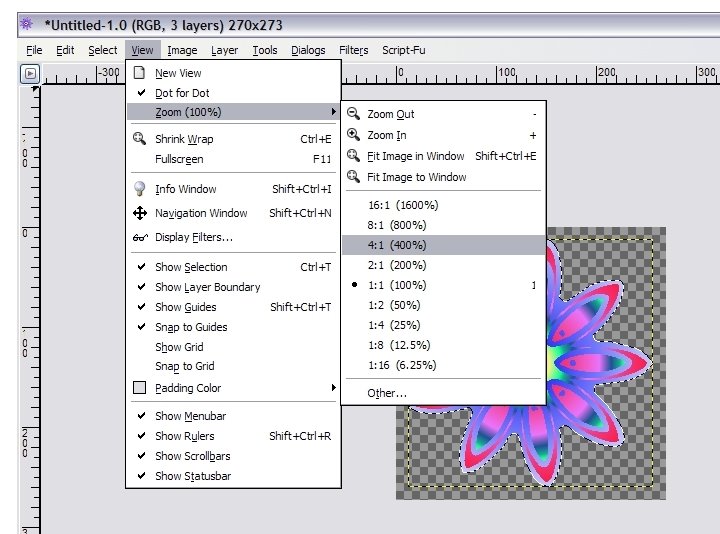 Go to view menu, select zoom and than pick a zoom that will make your design a couple of times bigger than its real size.
 Look at the edges of your design. I did not use anti-alias and the edge to the image is sharp which is what we want when making designs for dark surfaces.
If you used anti-alias you might have a thin whit/gray border around your image. In that case you will have to go to selection menu, choose shrink and than shrink your selection by two or three pixels. When you do that copy the selection and go back to the create a new transparent layer and paste the selection into it and than delete the layer with the white border around the edges.
 When you make sure that your border is fine and that you have just one layer with the transparent you can go on and save the image.
 Choose a name for your image, the folder and make it be a PNG file type.
Be sure to leave the save color values from transparent pixels checked. I turn off all the other options, but you could choose to leave the comment or date.
Click OK and you are done. Your images is ready to be uploaded to CafePress. If you have done everything right, after you upload the image CafePress will show a transparency picker bellow the image allowing you to pick white or black transparency. The presence of the picker is a sure sign that your image is transparent.
posted by BZ at Friday, September 08, 2006
![]()

<< Home